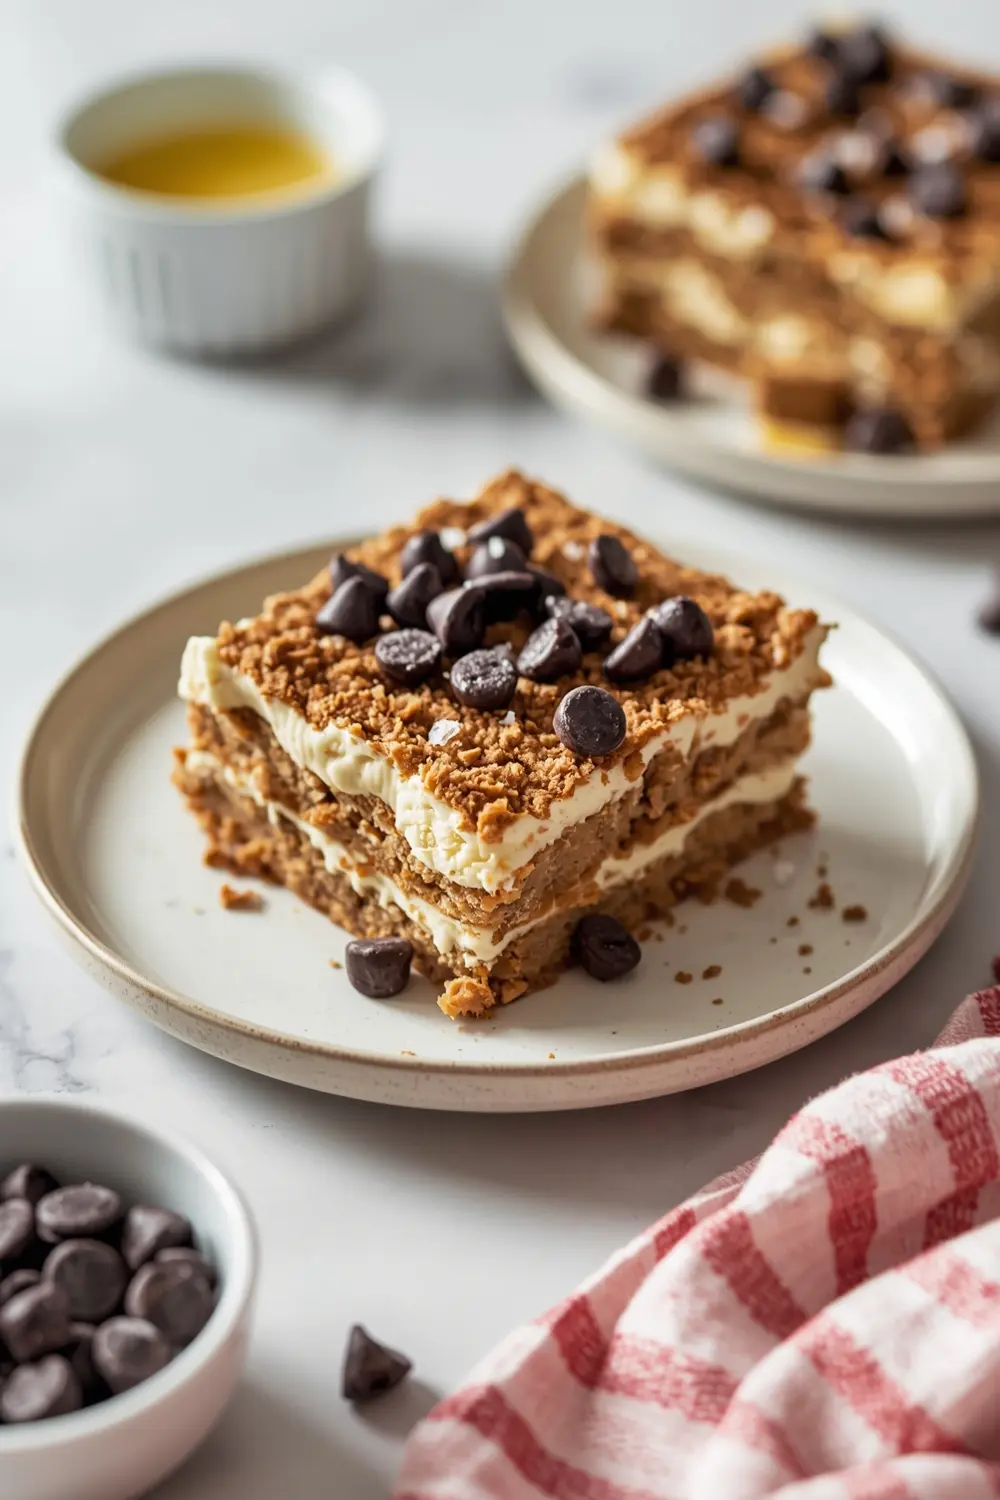
Combine graham cracker crumbs with melted butter and sugar in a bowl, stirring until the mixture resembles coarse sand. Press firmly into the bottom of a 9x13-inch baking dish, making sure it's packed tight—loose crumbs won't support the layers above, which I learned the hard way during my first attempt at this dessert.
Whip the heavy cream with powdered sugar and vanilla extract until stiff peaks form, which takes about three minutes with an electric mixer. I always whip by hand for the first minute to avoid over-beating, since even 30 seconds too long turns cream into butter, and nobody wants grainy filling.
Whisk the instant vanilla pudding mix with cold milk for exactly two minutes, then let it sit for one minute to thicken—this timing matters because under-mixed pudding won't set properly, and over-mixed pudding becomes gluey. Fold half the whipped cream into the pudding mixture gently to keep the air bubbles intact, which keeps the texture light instead of dense.
Spread the pudding mixture over the graham cracker crust in an even layer, about half an inch thick. Top with the remaining whipped cream layer, smoothing it flat with an offset spatula—this is where I pause and step back to assess if it looks level, because uneven layers make the cake tip when you cut it.
Heat the chocolate chips, hot water, and vegetable oil together in a microwave-safe bowl for 60 seconds, then stir until the ganache is glossy and pourable. Pour the ganache over the cream layer and let it drip naturally down the sides—don't try to spread it evenly, because the uneven coverage actually looks more intentional and restaurant-quality.
Sprinkle sea salt across the top while the ganache is still warm so it adheres, then refrigerate the entire cake uncovered for four hours until the layers set firmly. I cover it with plastic wrap after the first hour to prevent the cream from absorbing fridge odors, which Sandra pointed out after tasting a coffee-flavored version we'd stored next to the beans.
Remove from the fridge 15 minutes before slicing so the cake cuts cleanly without the filling squishing out the sides. Use a hot, wet knife and wipe between cuts—this simple step transforms the plating from messy to polished.