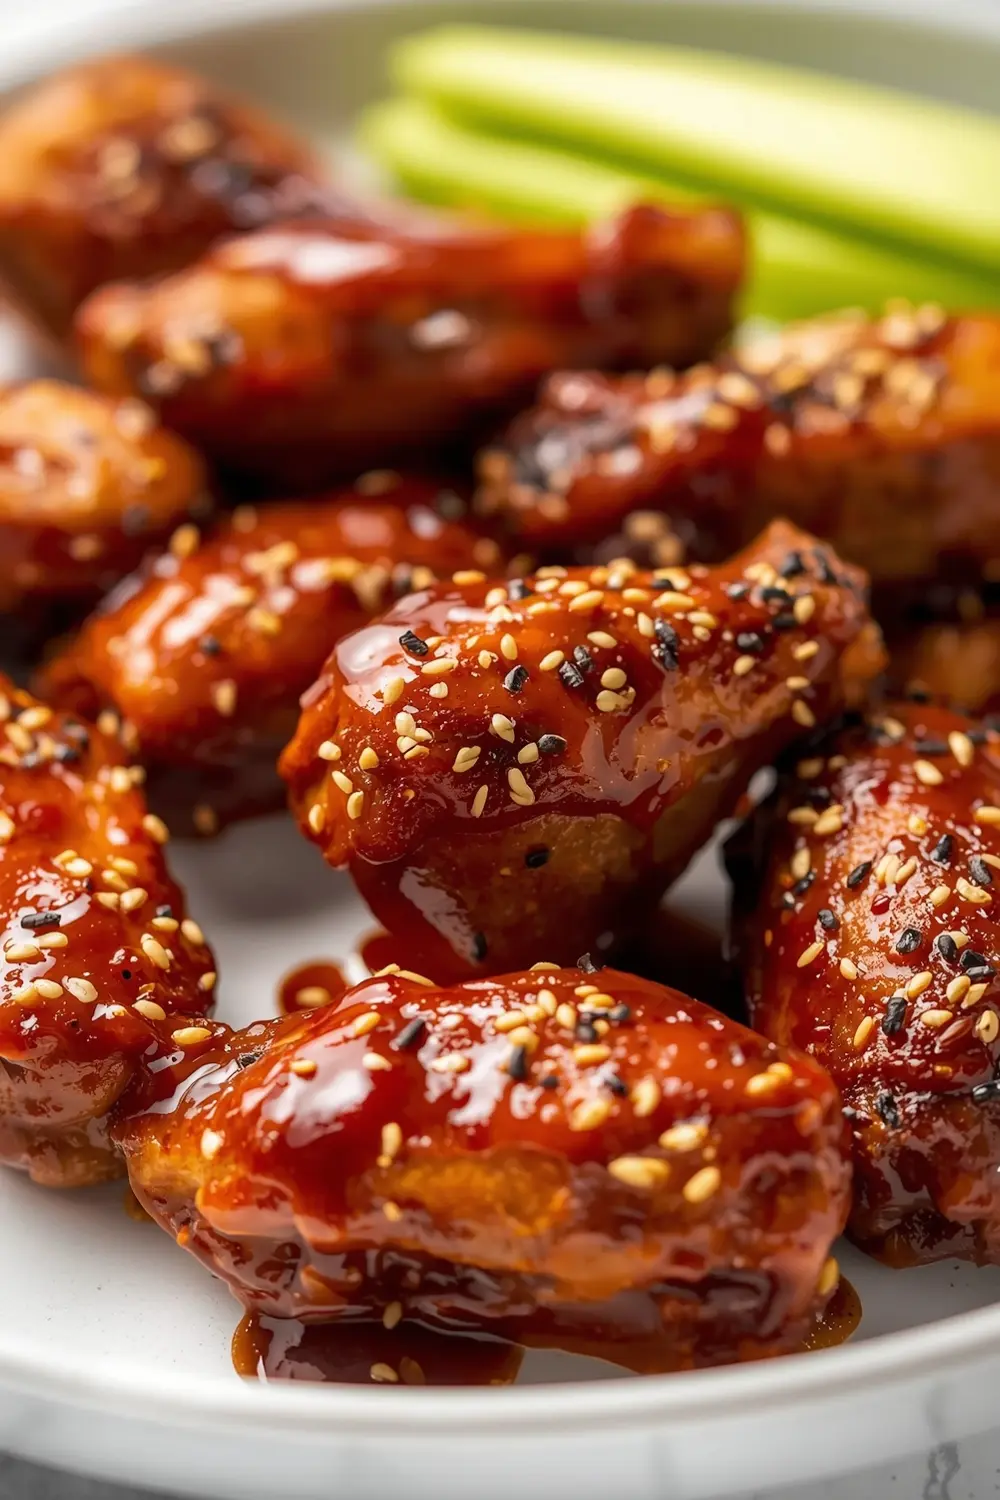
Most home cooks flip their chicken thighs too early and too often, which is exactly what prevents that sticky caramelized glaze from ever forming. You’ve been told to monitor constantly and move them around—that’s the mistake costing you flavor. BBQ chicken thighs sticky with a proper caramelized crust happens only when you commit to patience and resist the urge to fuss. This approach transforms ordinary grilled chicken into the centerpiece that gets passed around at every summer gathering.
The sticky glaze everyone craves comes from a specific combination of timing, heat management, and sauce application that most recipes skip entirely. When you understand why conventional grilling fails, you’ll see exactly how this method creates that coveted exterior that cracks slightly when you bite into it. The difference between mediocre and extraordinary chicken thighs isn’t complicated—it’s about following a system that actually works instead of guessing.
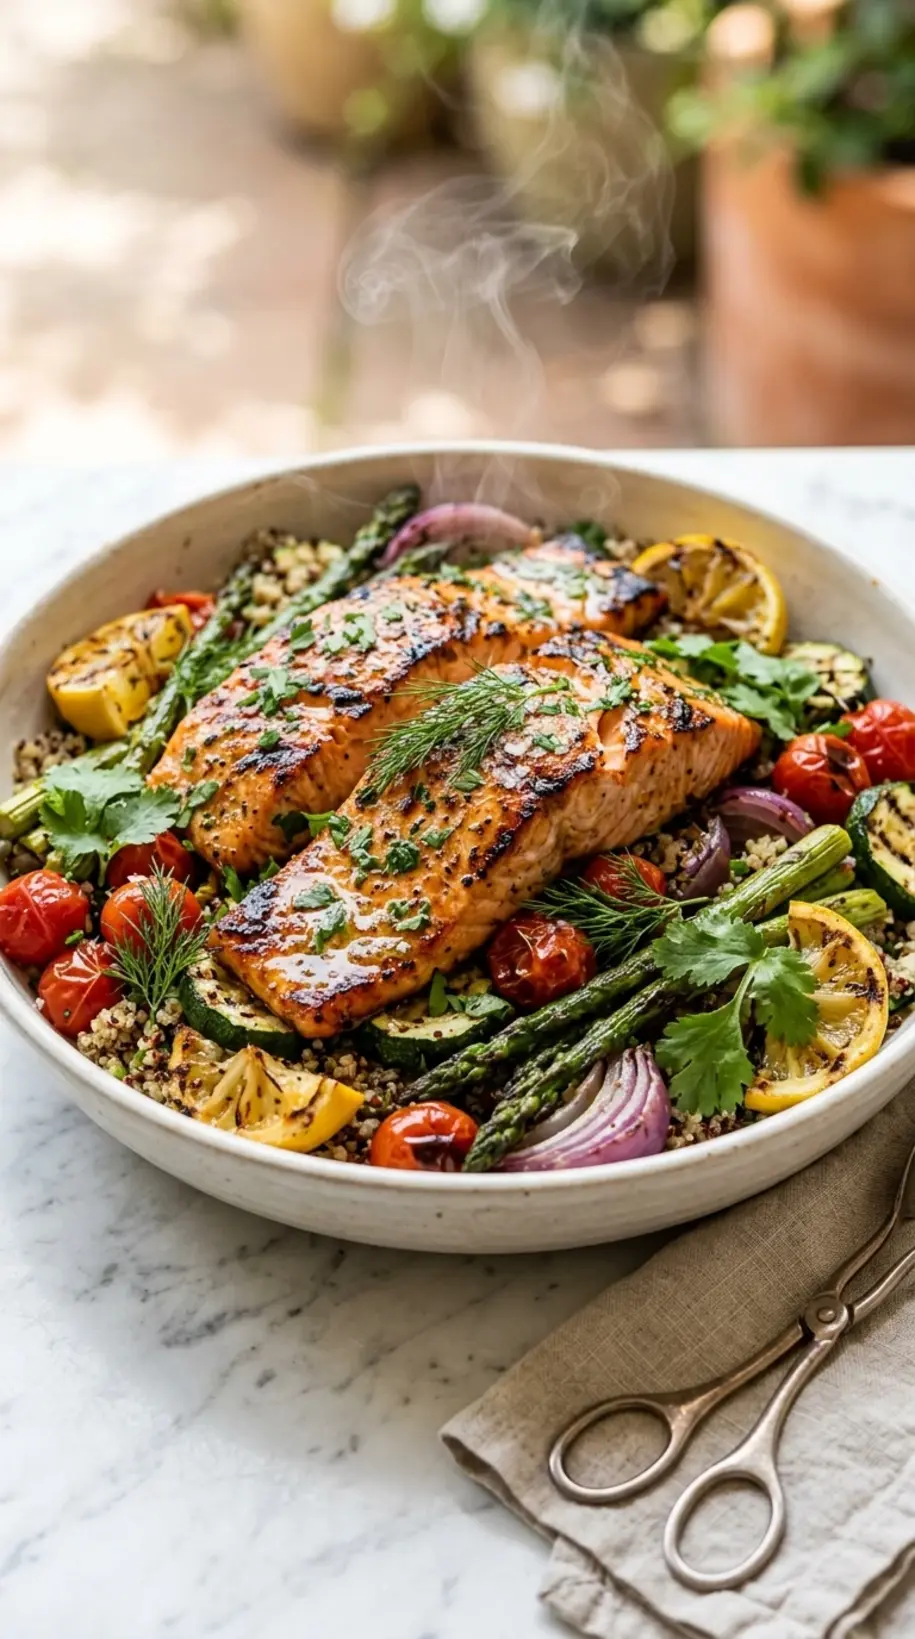
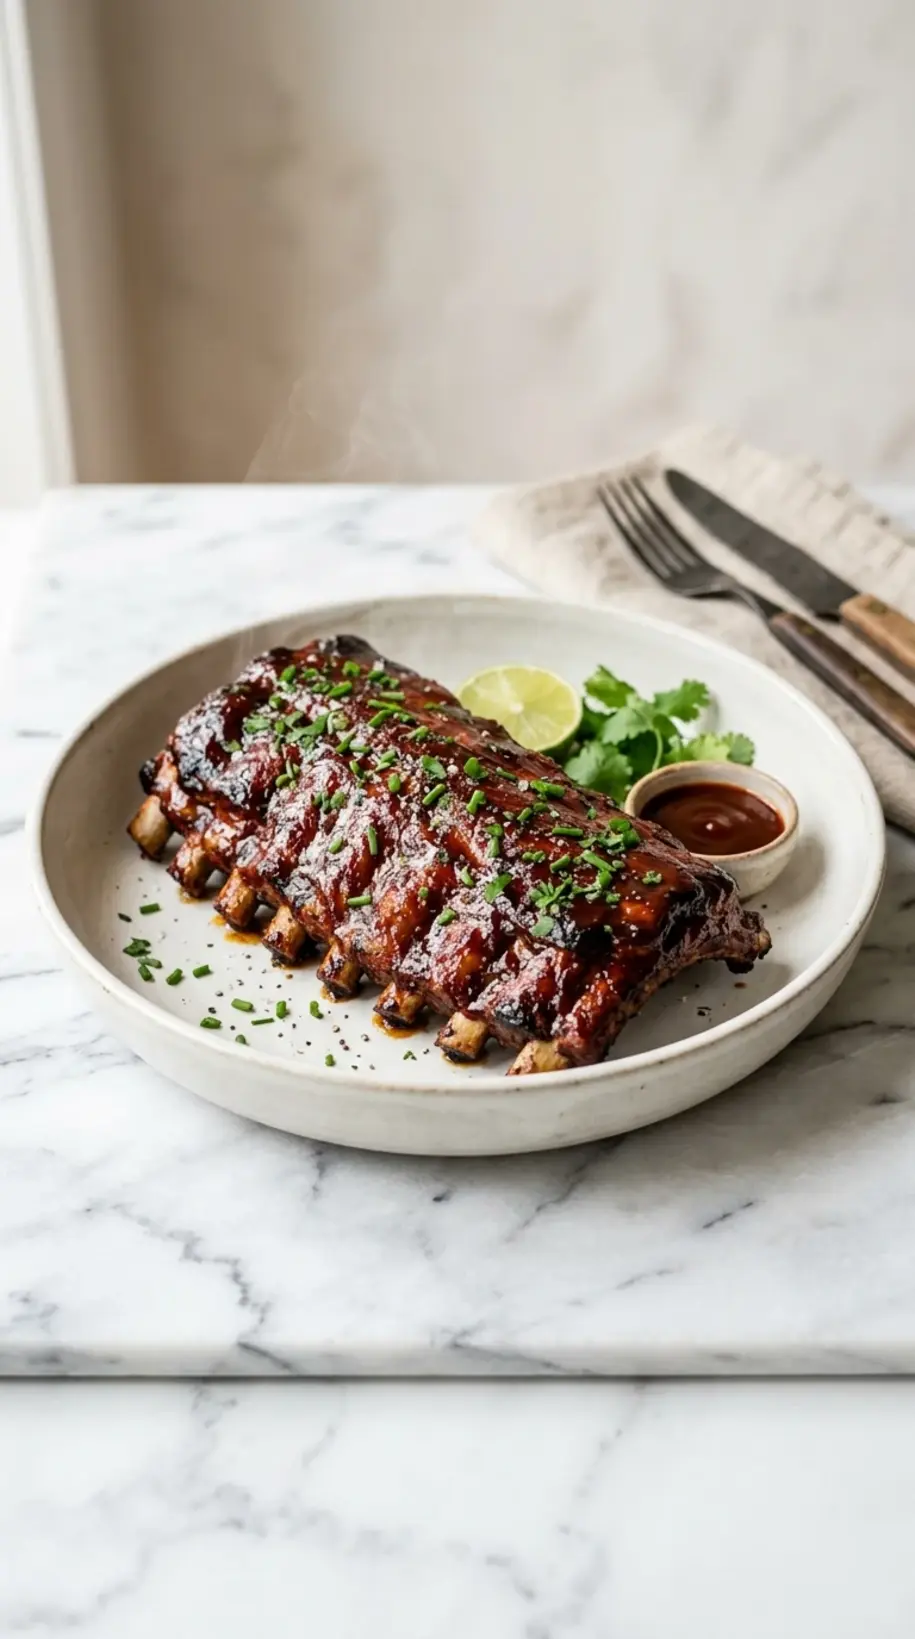
This recipe delivers BBQ chicken thighs sticky enough to impress six people or more, with enough depth in the glaze that guests actually ask for the ingredient list. The whole process takes just 55 minutes from start to table, making it realistic for weeknight cooking and weekend entertaining. You’ll notice the glaze thickens noticeably in the final five minutes of cooking—that’s when the real flavor development happens and most home cooks accidentally burn their sauce or pull the chicken off too early.
What everyone gets wrong about sticky BBQ chicken thighs — and why this method wins
Stop moving your chicken thighs constantly. It is ruining your sticky glaze every single time. The conventional wisdom of flipping every two minutes prevents the Maillard reaction that creates that desirable caramelized crust and deep flavor. When you interrupt the cooking process repeatedly, you’re essentially steaming the chicken instead of searing it properly.
BBQ chicken thighs sticky coating requires direct heat contact for extended periods without disturbance. The proteins and sugars in your glaze need uninterrupted time to interact with the heat source and bond to the chicken surface. This is why restaurant-quality results feel impossible at home—most home cooks are breaking the fundamental rule of caramelization.
Here’s what shifts everything: bone-in chicken thighs contain enough fat to stay moist even during longer cooking times. This means you’re not choosing between dryness and color like you would with breasts. The bone actually conducts heat more evenly, ensuring the interior cooks through while the exterior develops that glossy, crackling finish.
Four contrarian benefits of this method:
- Minimal flipping creates maximum crust. One flip at the 20-minute mark lets sugars caramelize uninterrupted instead of steaming off.
- Thicker glaze sticks permanently. Most recipes use thin sauces that slide right off. This one concentrates flavors into a coating that stays put.
- Less attention required than you think. Stop believing grilling demands constant supervision. This system lets you prep sides while the thighs finish.
- Bone-in thighs never dry out. The fat content keeps everything tender while the skin crisps up like you’ve been grilling for hours.
Ingredients for BBQ chicken thighs sticky glaze

- 2 kg bone-in chicken thighs (about 8-10 pieces)
- 3 Tbsp olive oil
- 1/4 cup halal soy sauce
- 2 Tbsp honey
- 2 Tbsp apple cider vinegar
- 2 Tbsp brown sugar
- 1 tsp smoked paprika
- 1 tsp garlic powder
- 1 tsp onion powder
- 1/2 tsp black pepper
- 1 tsp kosher salt
- 1 tsp fresh ginger minced
- 1 Tbsp lime juice
Step-by-step BBQ chicken thighs sticky instructions
1. Pat all chicken thighs completely dry with paper towels and remove any loose skin, which prevents proper browning. Dryness is critical—moisture blocks caramelization before it starts.
2. Combine soy sauce, honey, apple cider vinegar, brown sugar, smoked paprika, garlic powder, onion powder, black pepper, kosher salt, minced ginger, and lime juice in a medium bowl, whisking until the brown sugar dissolves completely. The glaze should look glossy and slightly thick.
3. Reserve half the glaze mixture in a separate bowl to brush on during the final cooking phase—this prevents burning and ensures a fresh flavor layer at the end.
4. Rub olive oil all over each chicken thigh, coating both sides and the skin generously. Oil creates the foundation for that sticky crust to adhere properly.
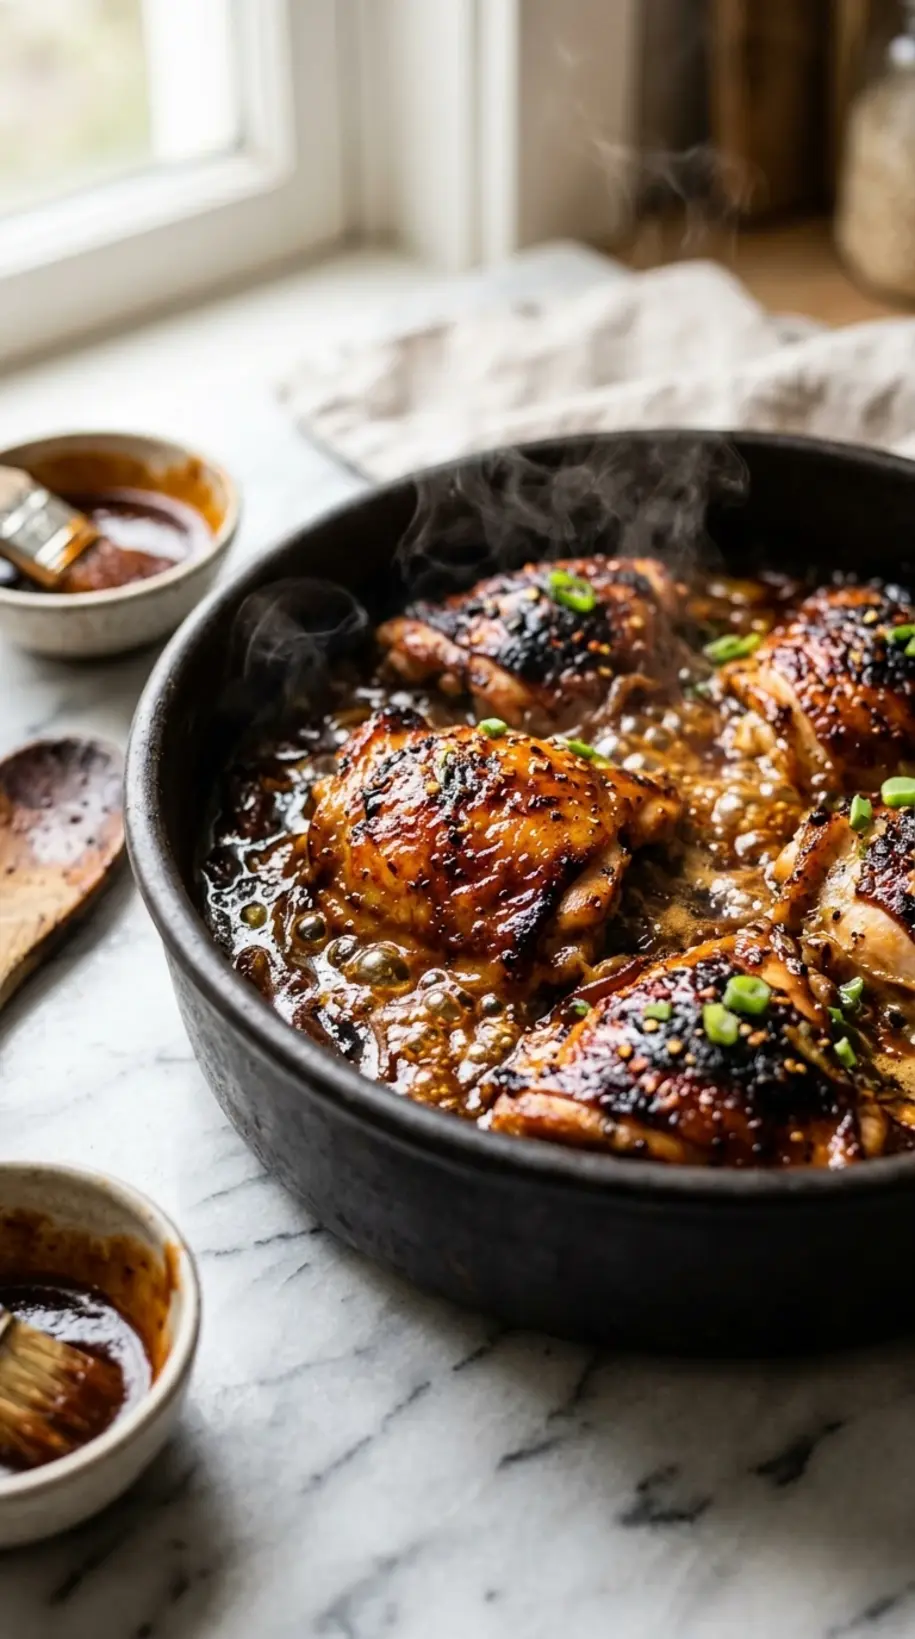
5. Heat your grill to medium-high heat (around 375-400°F), then place chicken thighs skin-side down directly on the grates with no moving for the first 18-20 minutes. You’ll hear a sizzle immediately and smell that characteristic charred aroma—that’s the Maillard reaction creating depth.
6. Flip each thigh once at the 20-minute mark and brush the cooked side with the reserved half of glaze. Let it sit undisturbed for another 15 minutes.
7. Brush the other side with remaining glaze at the 35-minute mark, watching carefully as the sauce darkens and concentrates. The glaze should look almost sticky-wet, not dry.
8. Check internal temperature with a meat thermometer inserted into the thickest part without touching bone—it should read 165°F. If it’s not quite there, give it 2-3 more minutes on the grill.
9. Transfer finished thighs to a clean platter and let them rest for 4 minutes before serving. This allows the juices to redistribute throughout the meat, keeping everything tender.
10. Drizzle any remaining glaze from the grill pan over the finished thighs just before serving for maximum stickiness and flavor impact.
Serving ideas for BBQ chicken thighs sticky
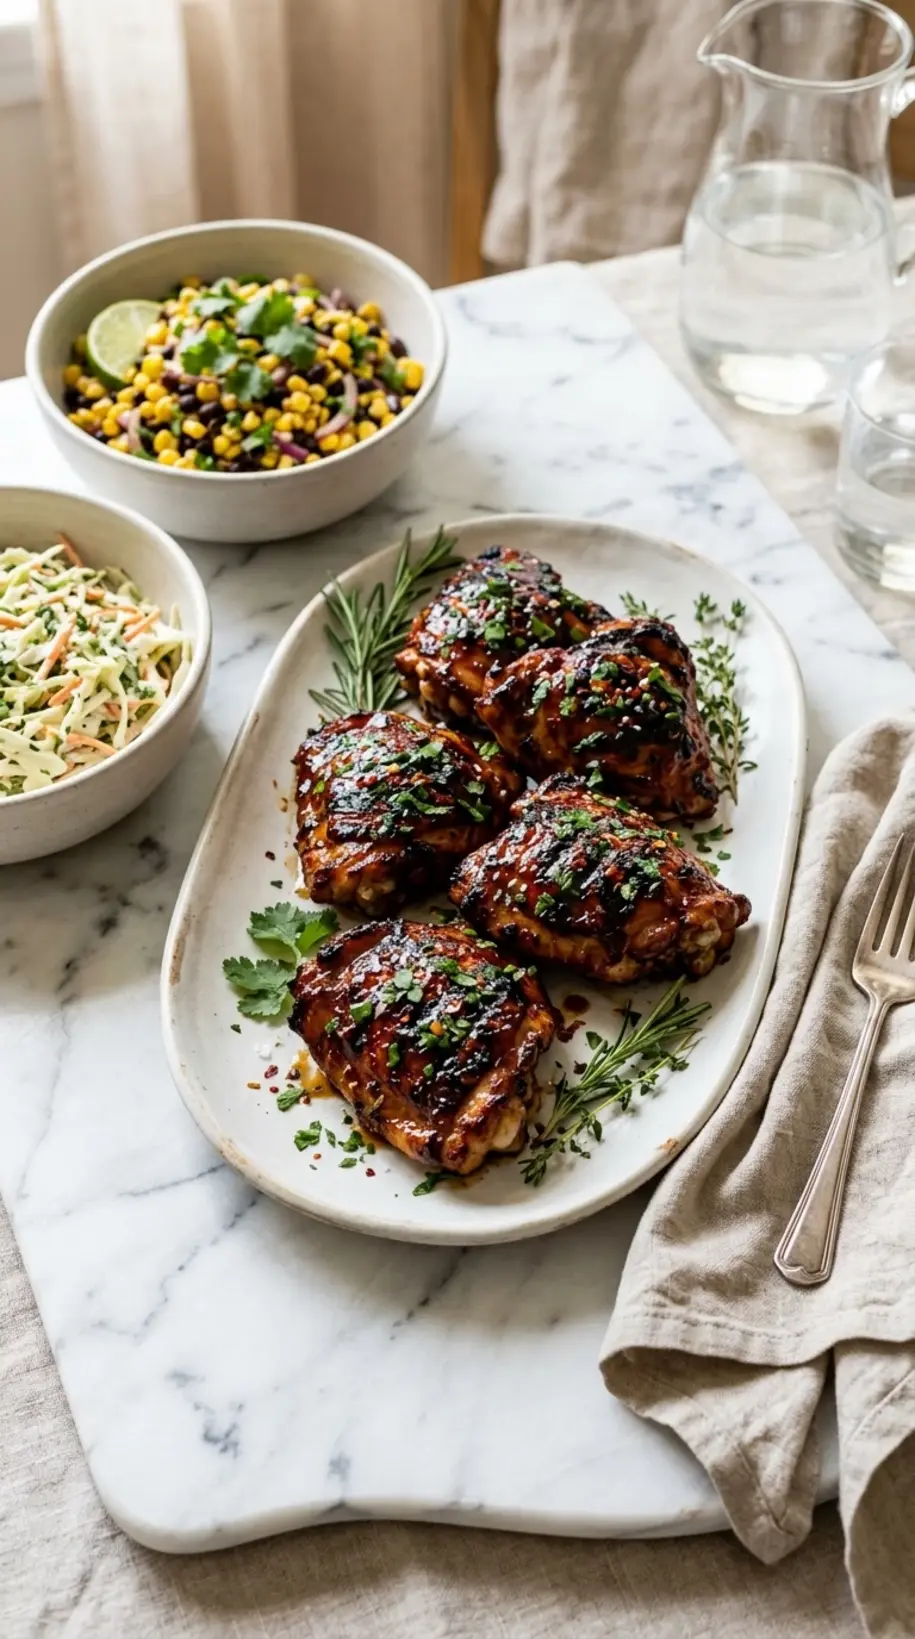
Serve sticky BBQ chicken thighs alongside grilled corn brushed with garlic butter and a crisp coleslaw dressed in a light vinegar-based sauce. The contrast between the smoky-sweet chicken and the cool, tangy slaw creates a balanced plate that keeps people coming back. Corn naturally soaks up any extra glaze drips from the chicken, so nothing goes to waste.
Pair these thighs with baked beans and cornbread for a classic summer barbecue spread that feels both casual and intentional. The earthiness of the beans complements the caramelized exterior without competing for attention. Cornbread’s slight sweetness echoes the honey in your glaze without overwhelming the palate.
For a slightly unexpected direction, serve the thighs over jasmine rice with fresh cilantro and lime wedges on the side. This approach works beautifully for guests who prefer lighter sides or for meal prep purposes throughout the week. The rice soaks up excess glaze and turns this into a complete one-plate dinner.
Offer thick-cut tomato slices with a sprinkle of sea salt and fresh basil as a simple counterpoint to the richness of the chicken. Tomatoes cut through the sweetness and heaviness, refreshing your palate between bites. This combination saves beautifully for leftovers if you plate components separately.
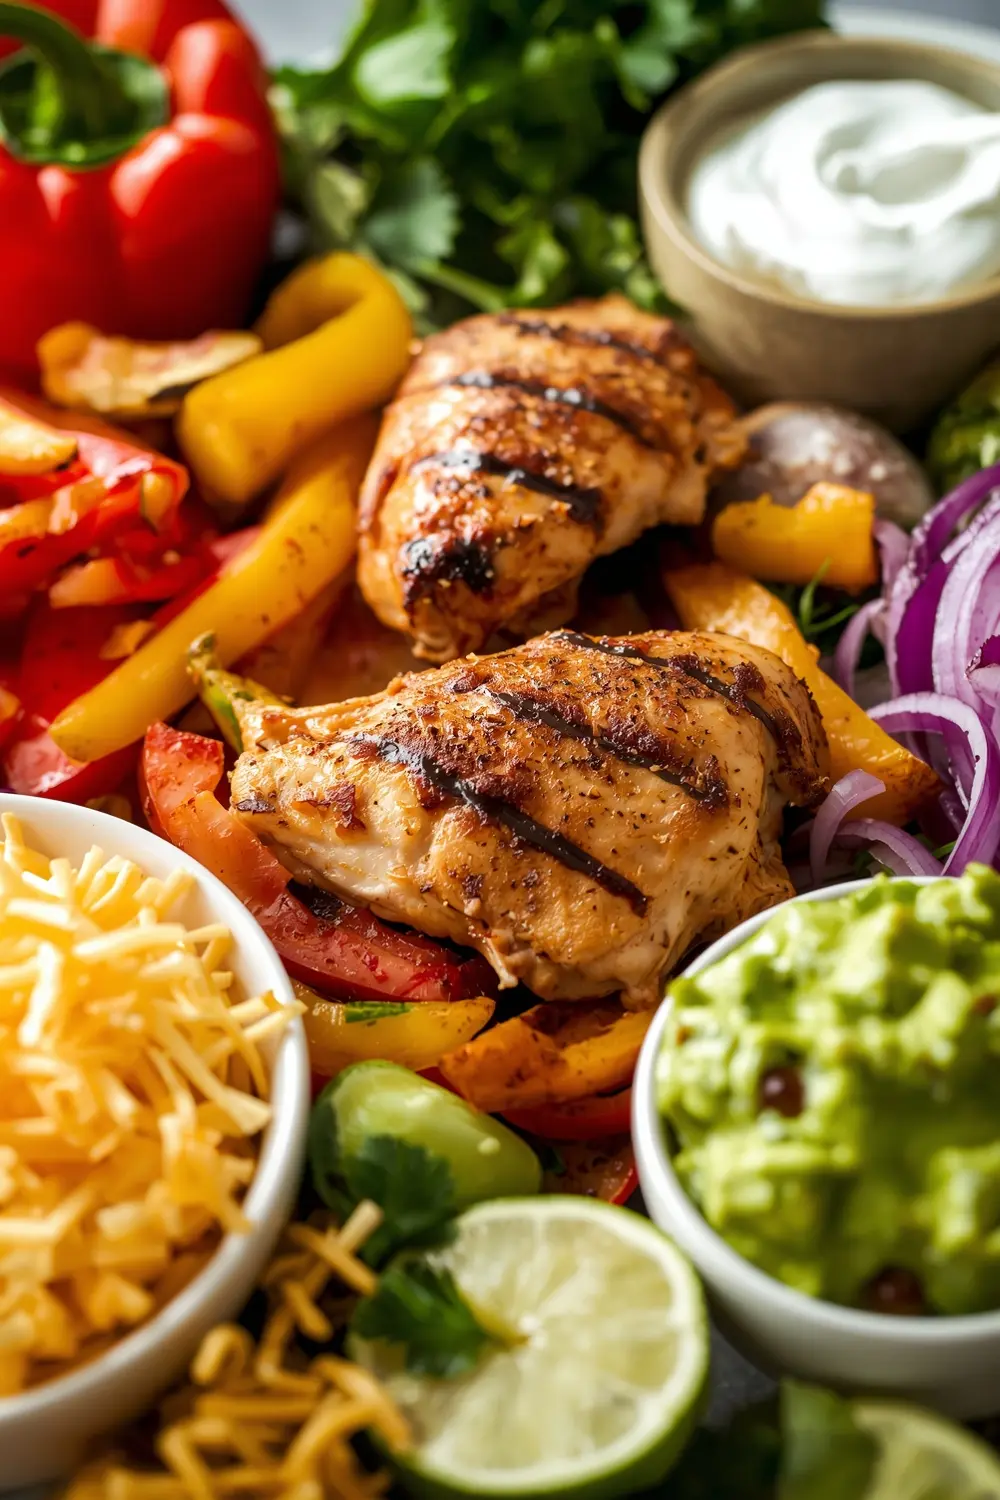
Create a build-your-own taco situation with warm flour tortillas, shredded chicken thighs, pickled red onions, and fresh cilantro. Guests can customize heat level and flavor intensity based on their preferences. This format works especially well for larger gatherings where people have varying dietary preferences.
Frequently asked questions
Can you make sticky BBQ chicken thighs ahead of time?
Yes—prepare the glaze up to three days in advance and store it in an airtight container in the refrigerator. Season and oil the chicken thighs up to 12 hours ahead, then grill them just before serving for the best texture and stickiness. The glaze’s flavors actually deepen after a day in the fridge, so making it early is genuinely advantageous.
How do you store leftover sticky BBQ chicken thighs?
Store cooled thighs in an airtight container for up to four days in the refrigerator. Reheat gently in a 325°F oven for 8-10 minutes to restore the crispy skin without drying out the meat. Don’t use the microwave, which creates rubbery texture and uneven heating.
Can you freeze sticky BBQ chicken thighs?
Absolutely—freeze cooked thighs in a freezer-safe container for up to three months, or freeze raw marinated thighs for up to two months. Thaw overnight in the refrigerator before grilling or reheating. The glaze actually clings better to previously frozen thighs because the surface texture becomes slightly porous.
What’s a good substitution for apple cider vinegar?
Use rice vinegar or white wine vinegar at the same ratio for a slightly milder tang. You could also substitute balsamic vinegar at 1.5 Tbsp if you prefer deeper, more complex acidity. Each vinegar shifts the flavor profile slightly, but the sticky texture remains unchanged.
Why isn’t the glaze sticking to your chicken thighs?
Your grill temperature likely isn’t hot enough, or you’re flipping too frequently and disrupting caramelization. Ensure your grill reaches 375-400°F and commit to the one flip at 20 minutes. If the glaze slides off immediately, your chicken skin might still be wet—always pat it completely dry before oiling.
What should you serve alongside sticky BBQ chicken thighs?
Coleslaw, cornbread, grilled corn, baked beans, and rice all pair beautifully without overwhelming the dish. Choose sides that either complement the smoky sweetness or provide cooling contrast. Avoid heavy sauces that compete with your glaze’s carefully balanced flavors.
Final thoughts
You now understand what separates people who consistently nail sticky BBQ chicken thighs from those who keep producing mediocre results. The key is committing to one strategic flip and resisting constant fussing—that’s what creates the caramelized crust that actually holds the glaze instead of letting it slide off. Most home cooks will never figure this out because they’re too busy listening to conventional wisdom about constant monitoring.
When you bite into your finished chicken thighs, listen for that slight crackle of the skin breaking—that sound tells you everything worked exactly as intended. The glaze should stick to your fingers and the meat should separate easily from the bone with minimal effort. That’s the specific moment when you realize this method genuinely works better than anything you’ve tried before.