This thanksgiving apple pie crowd recipe is the secret weapon that transforms your dessert table into the talk of the holiday. I’ve watched guests return for seconds and thirds every single year because the filling strikes that perfect balance between tart and sweet.
My neighbor Sandra swears by this apple pie crowd pleaser, and honestly, the buttery crust alone makes people ask for the recipe before they even taste it. The combination of texture and flavor creates something truly unforgettable at any gathering.
What sets this apart from typical recipes is the dual-sugar approach and the secret splash of lemon juice that brightens every bite. Unlike other desserts that fade into memory, this one becomes the story everyone tells their friends.
For your next gathering, this thanksgiving dessert delivers restaurant-quality results with home-kitchen simplicity.
Why this apple pie crowd works
This crowd-pleasing apple pie succeeds because it respects three core principles: superior ingredients, proper technique, and patience with each step.
- Crisp, flaky crust delivers that satisfying crunch everyone craves from homemade pie
- Balanced spice blend enhances natural apple flavor without overwhelming the palate
- Lemon juice brightens the filling because acid cuts sweetness and deepens apple complexity
- Egg wash creates a gorgeous golden-brown exterior that photographs beautifully for social media
The apple pie crowd formula includes more brown sugar than typical recipes because molasses adds subtle depth that store-bought versions simply cannot match.
|
Prep
30 minutes
|
Cook
50 minutes
|
Cal
385
|
Serves
8 servings
|
Cuisine
American
|
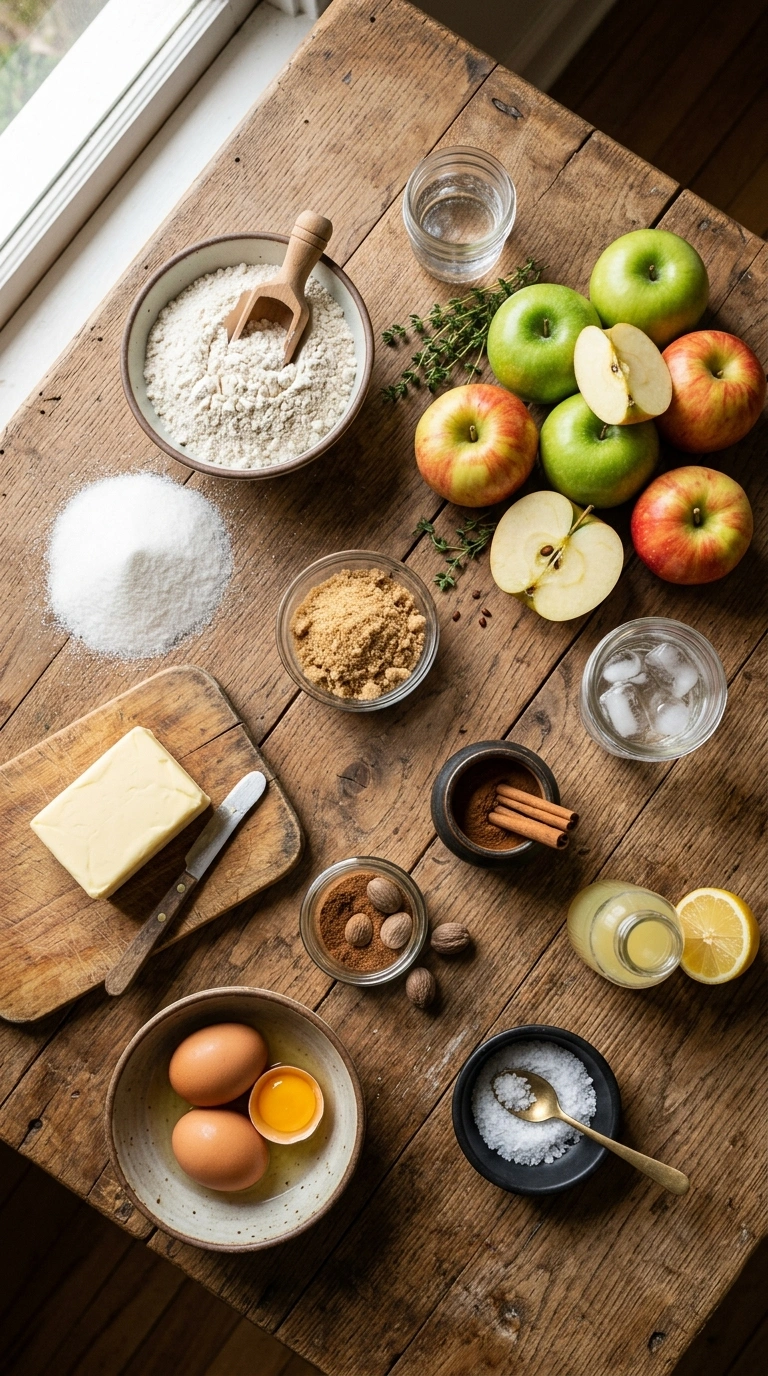
Ingredients for thanksgiving apple pie crowd
 **For the crust:**
- 2 1/2 cups all-purpose flour
- 1 tsp salt
- 1 tbsp sugar
- 1 cup cold butter, cubed
- 6 tbsp ice water
- 8 medium apples, peeled and sliced
- 3/4 cup sugar
- 1/4 cup brown sugar
- 2 tbsp all-purpose flour
- 1 tsp cinnamon
- 1/4 tsp nutmeg
- 2 tbsp lemon juice
- 1 egg
- 1 tbsp water
Keep your butter genuinely cold by freezing it for 15 minutes before mixing the crust. This ensures maximum flakiness and that signature texture everyone raves about. If you don’t have fresh apples, substitute with frozen sliced apples (thawed and drained well) for convenience without sacrificing flavor.
Brown sugar can replace half the granulated sugar if you prefer deeper molasses notes in your filling. The flour coating prevents the filling from becoming too watery during baking. Always use fresh lemon juice rather than bottled, since the flavor difference between apple pie versions becomes immediately noticeable.
Step-by-step apple pie crowd instructions
1. Combine flour, salt, and sugar in a large bowl, then cut cold butter into pea-sized pieces throughout. Work quickly using a pastry cutter or your fingertips, creating a crumbly mixture within 3-4 minutes. Add ice water one tablespoon at a time, stirring gently until dough just comes together without becoming wet or sticky.
2. Form dough into two disks, wrap in plastic wrap, and refrigerate for at least 30 minutes while you prep the filling. This resting period allows gluten to relax, preventing shrinkage during baking and ensuring the crust stays tender and flaky.
3. Toss sliced apples with both sugars, flour, cinnamon, nutmeg, and lemon juice in a separate bowl, letting it sit for 10 minutes. This resting time allows the filling to release its juices naturally, creating that signature saucy texture that makes this thanksgiving apple pie crowd favorite so special.
4. Preheat your oven to 375°F and roll out the first dough disk on a floured surface to about 1/8-inch thickness. Transfer carefully to a 9-inch pie dish, allowing edges to overhang slightly, then add the apple filling and smooth the top layer evenly.
5. Roll out the second disk and place it over the filling, then crimp edges using your fingers or a fork to seal completely. Whisk together egg and water, brush the entire top surface, then cut three small vents to allow steam to escape during baking.
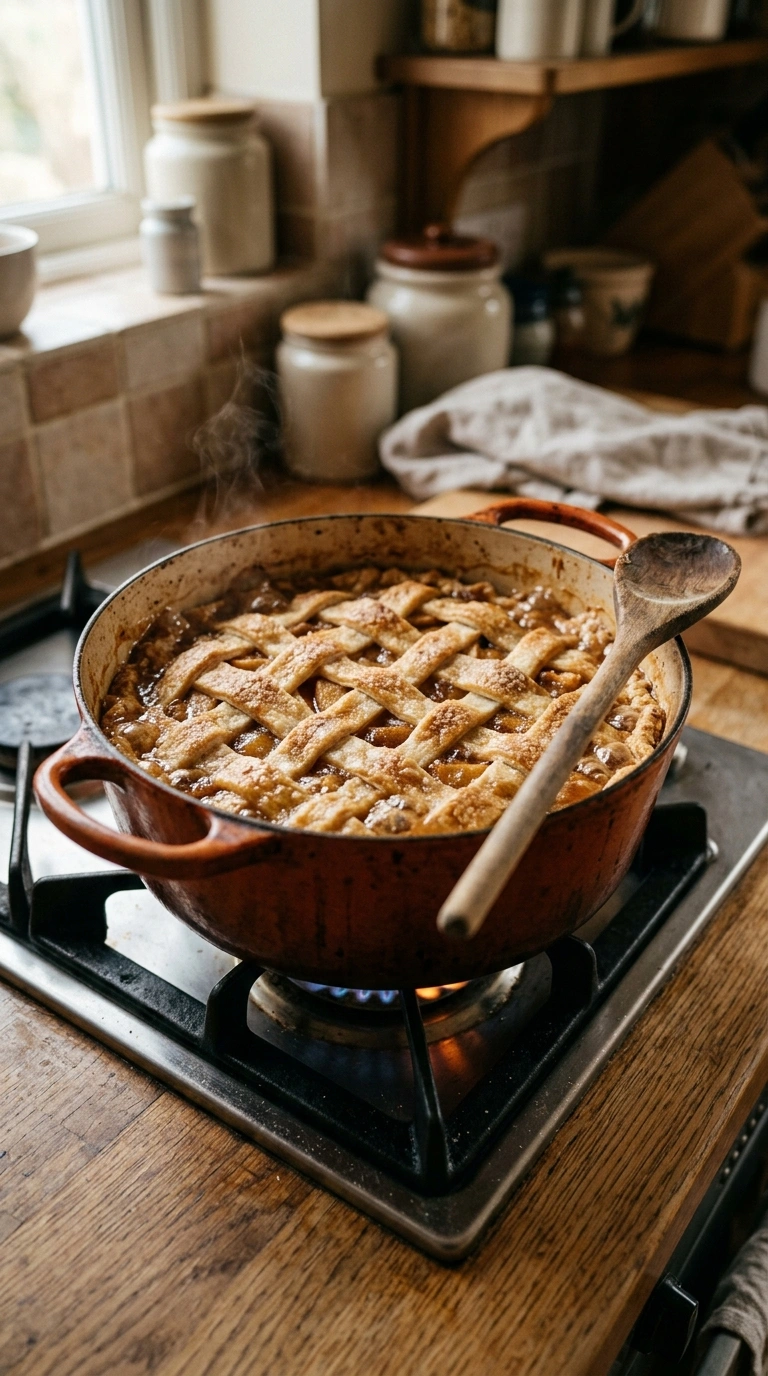
6. Bake for 50 minutes until the crust turns deep golden-brown and you can see filling bubbling slightly through the vents. If edges brown too quickly, cover loosely with foil during the final 15 minutes to prevent burning.
7. Cool on a wire rack for at least 20 minutes before slicing, allowing the filling to set properly. This cooling step ensures clean, beautiful slices rather than filling that runs all over the plate.
Serving ideas for thanksgiving apple pie crowd
This dessert shines brightest when paired thoughtfully with complementary flavors that enhance rather than compete with the apple-spice filling.
Vanilla ice cream
A scoop of quality vanilla ice cream melts into the warm filling, creating a luxurious contrast between cold and hot temperatures. The cream’s richness balances the pie’s tartness perfectly, which is why this remains the most-requested pairing year after year.Cinnamon whipped cream
Whipped cream infused with a pinch of extra cinnamon echoes the spices already in the filling while adding an ethereal lightness. This pairs exceptionally well because the cream doesn’t overpower the apple flavor, allowing each element to remain distinct.Aged cheddar
A thin slice of sharp aged cheddar cheese provides an umami undertone that deepens appreciation for the apple complexity within each bite. Sandra discovered this pairing last year, and now it’s her signature way to serve this pumpkin pie Thanksgiving crowd easy alongside our apple version for maximum dessert impact.Frequently asked apple pie crowd questions
Can I freeze this pie before baking?
Yes, absolutely. Assemble the entire pie as directed, wrap it tightly in plastic wrap and foil, then freeze for up to three months. Bake directly from frozen, adding 10-15 minutes to the total baking time and covering edges with foil if browning too quickly.
You can also freeze baked pie for up to two months, reheating gently in a 325°F oven for 20-25 minutes until warmed through completely.
What’s the best apple variety for this recipe?
Granny Smith apples provide excellent tartness, but combining varieties yields superior complexity and flavor depth. Mix tart apples with sweeter Honeycrisp or Gala varieties for a more sophisticated taste that doesn’t become one-dimensional or boring.
Avoid Red Delicious apples, which become mushy and lose their shape during baking, resulting in apple pie crowd disappointment.
How do I reheat leftover pie slices?
Preheat your oven to 350°F, place individual slices on a baking sheet, and cover loosely with foil for 8-10 minutes until warmed throughout. This method restores crust crispness better than microwaving, which creates soggy, unpleasant texture that undermines the pie’s appeal.
For faster reheating, microwave a single slice for 45-60 seconds on medium power, though oven reheating consistently produces superior results with better texture preservation.
Why do people say this is the best thanksgiving apple pie crowd recipe?
This thanksgiving apple pie crowd achieves legendary status because every element works in harmony without any single flavor overwhelming the others. The balanced spices, properly textured crust, and lemon juice brightness combine to create a dessert that tastes elegant yet approachable, familiar yet exciting.
Guests consistently return for seconds because the pie delivers genuine complexity that homemade or store-bought versions rarely achieve through thoughtful ingredient selection and proper technique.
Final thoughts on apple pie crowd
This apple pie crowd favorite represents the kind of dessert that transcends ordinary holiday cooking and becomes a family tradition worth repeating. Sandra texted me last Thanksgiving simply saying “People are still talking about your pie three days later,” which perfectly captures why this recipe deserves a permanent spot on your dessert menu.
The beauty of this crowd-pleasing pie lies in its approachability paired with genuinely impressive results that look and taste professionally executed. Most home bakers avoid making pie from scratch, intimidated by crust-making and assembly, but this straightforward approach removes those barriers completely.
When you serve this thanksgiving apple pie crowd creation, expect multiple requests for the recipe and genuinely grateful guests who remember this dessert fondly for years. The combination of buttery crust, balanced filling, and proper technique creates something truly special that justifies the effort involved. Check out our 4th july crowd no bake dessert for more easy crowd-pleasing options.
Try this recipe for your next gathering and discover why everyone raves about it—then share your photos and results in the comments below!
Best Thanksgiving Apple Pie Everyone Raves About
Ingredients
Method
- Combine flour, salt, and sugar in a large bowl, then cut cold butter into pea-sized pieces throughout. Work quickly using a pastry cutter or your fingertips, creating a crumbly mixture within 3-4 minutes. Add ice water one tablespoon at a time, stirring gently until dough just comes together without becoming wet or sticky.
- Form dough into two disks, wrap in plastic wrap, and refrigerate for at least 30 minutes while you prep the filling. This resting period allows gluten to relax, preventing shrinkage during baking and ensuring the crust stays tender and flaky.
- Toss sliced apples with both sugars, flour, cinnamon, nutmeg, and lemon juice in a separate bowl, letting it sit for 10 minutes. This resting time allows the filling to release its juices naturally, creating that signature saucy texture that makes this thanksgiving apple pie crowd favorite so special.
- Preheat your oven to 375°F and roll out the first dough disk on a floured surface to about 1/8-inch thickness. Transfer carefully to a 9-inch pie dish, allowing edges to overhang slightly, then add the apple filling and smooth the top layer evenly.
- Roll out the second disk and place it over the filling, then crimp edges using your fingers or a fork to seal completely. Whisk together egg and water, brush the entire top surface, then cut three small vents to allow steam to escape during baking.
- Bake for 50 minutes until the crust turns deep golden-brown and you can see filling bubbling slightly through the vents. If edges brown too quickly, cover loosely with foil during the final 15 minutes to prevent burning.
- Cool on a wire rack for at least 20 minutes before slicing, allowing the filling to set properly. This cooling step ensures clean, beautiful slices rather than filling that runs all over the plate.